Product Design
Step by step: how to design a product (with images)
If you are currently designing a product that you plan to manufacture and sell, you are probably wondering what the different stages of the design process are. These easy step-by-step images and explanations will help you understand how to design a product, where you are in the design process, and where to get any assistance you might require.
Product Design Ideation or idea
Your product idea comes from you identifying a problem and devising a solution for it. Although you have thought it out and have some notion of how it will look, this product idea only exists in your mind. If you are at this stage, you need to put your idea down on paper. If you don’t know how to draw, then write down notes, features, and properties. Try to capture the essence of your idea, its main purpose, the problem you want to solve, and the form you want it to have. Specify the colour, the texture, and the look. Communicating your idea in writing is the first step in helping your product come to life.

Product design research
After writing all these notes, it is then time to make sure that no one else has already invested time and effort in this idea. Start with a simple Google search. Use a combination of keywords that describe the product design, or a name that it could potentially have. Use image search or look for companies that make similar products. You do not want to put time and money into developing a new idea without first checking–then double-checking–to see if it already exists.
Product design sketches, doodles, or initial concepts
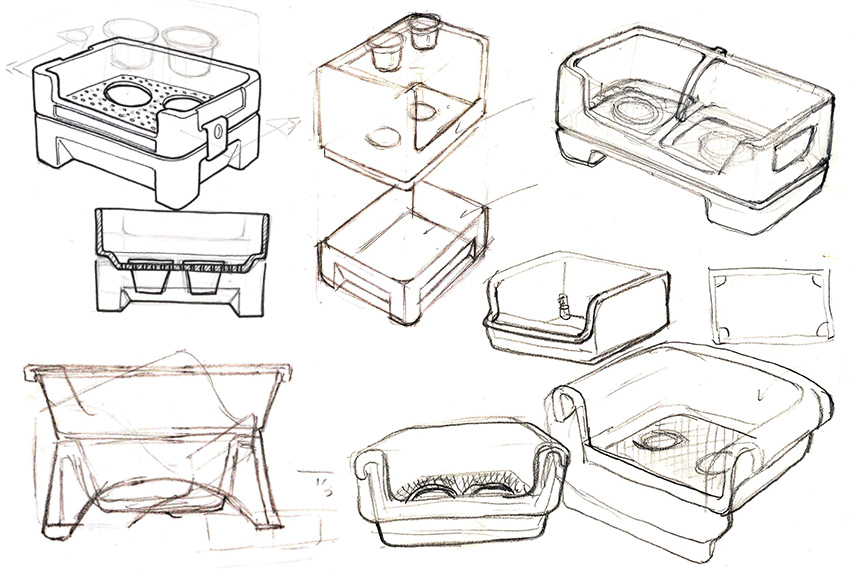
If you feel comfortable drawing–and even if you do not–put pencil to paper and try to doodle or sketch your initial concepts. Your drawings help a product design firm narrow down a possible form for your new idea. Sketch all the ideas you have. Draw every little detail you can think of, and add notes or arrows to highlight important information on the drawings.
Product design detailed hand drawings
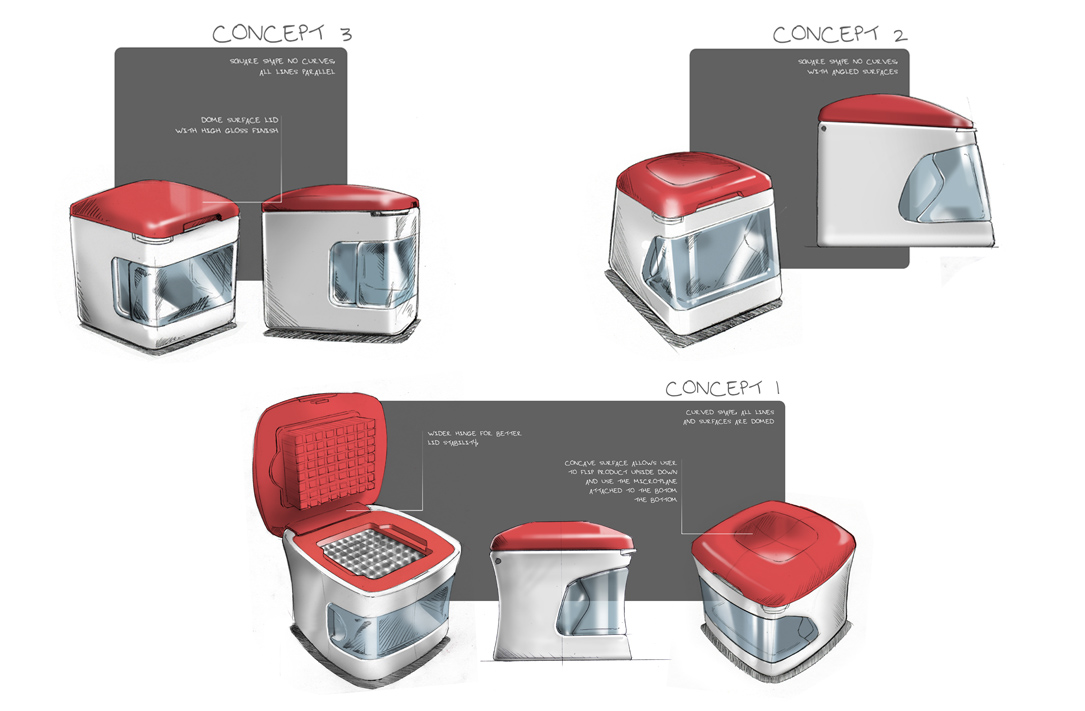
Once you have narrowed down the finer points of your idea, it’s important to make drawings that are a bit more detailed. Some industrial design firms may present hand drawings and some initial CAD drawings. At this point, colours can be defined and the overall form, look, and feel can be finalized. If your form is in the detail stage, it may be ready to go to 3D software.

Mechanical drawings or CAD drawings
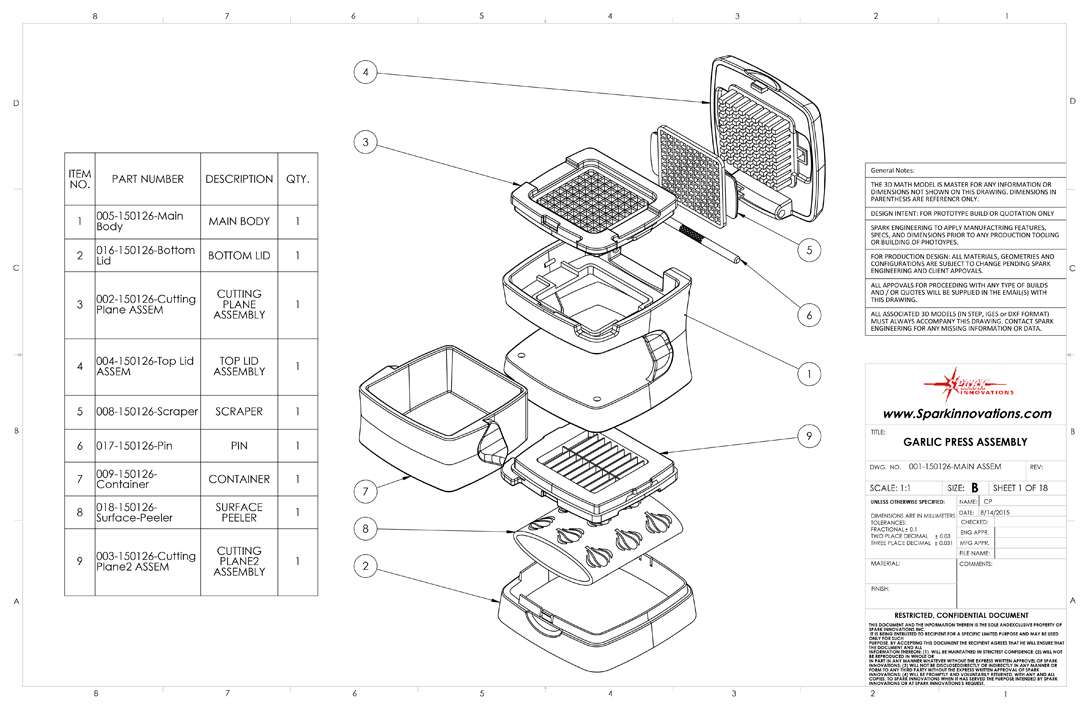
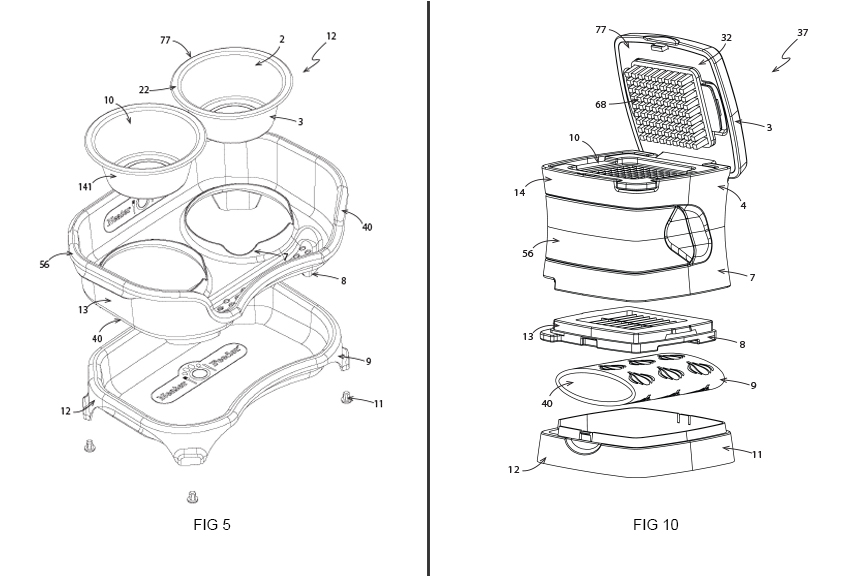
Depending on the complexity of your idea, industrial designers or mechanical engineers will input your drawings into a 3D software program. During this stage, the idea takes real form and gets ready for 3D printing or prototyping. Exact measurements are defined and the initial stages of manufacturing and tooling are thought out. Industrial designers and mechanical engineers have to be able to create moulds from these drawings, so it is very important at this stage to have every little detail of your idea figured out.
Patenting your idea
Some inventions have the necessary features, core idea, or functionality to get protected by a patent. If it is possible for your idea to be patented, try protecting it with either a utility or design patent. It may even be possible to license your product to a large company or create a successful business from it. Here at Spark, we can guide you and show you the options available to you.
3D printing or prototyping
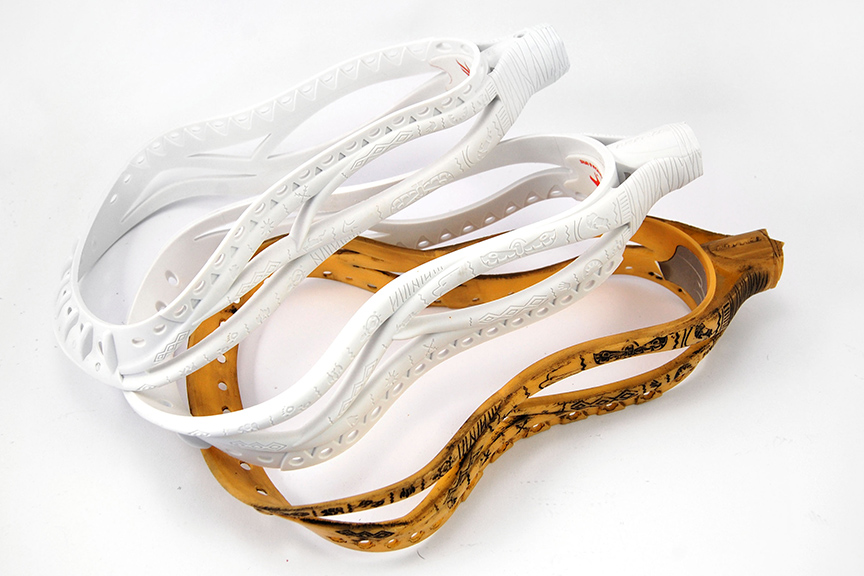
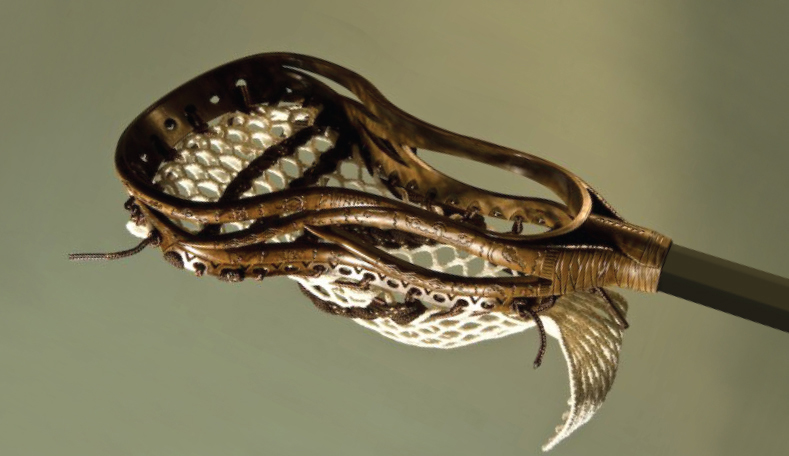
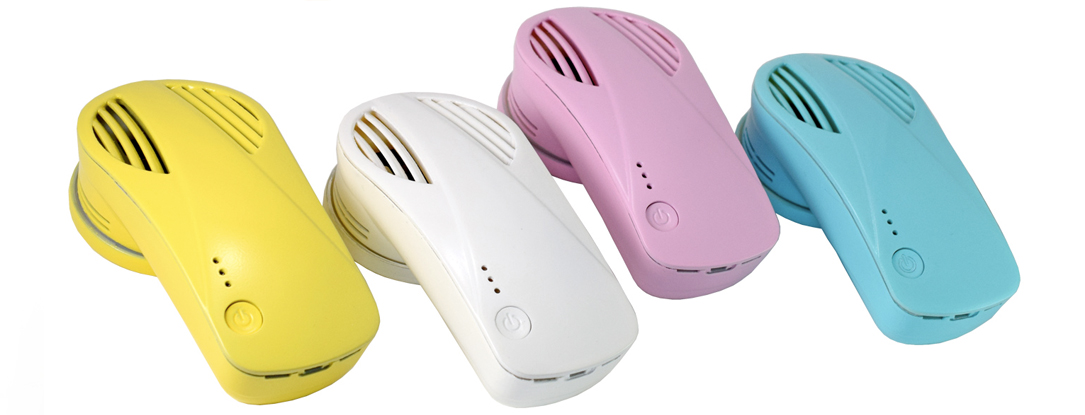
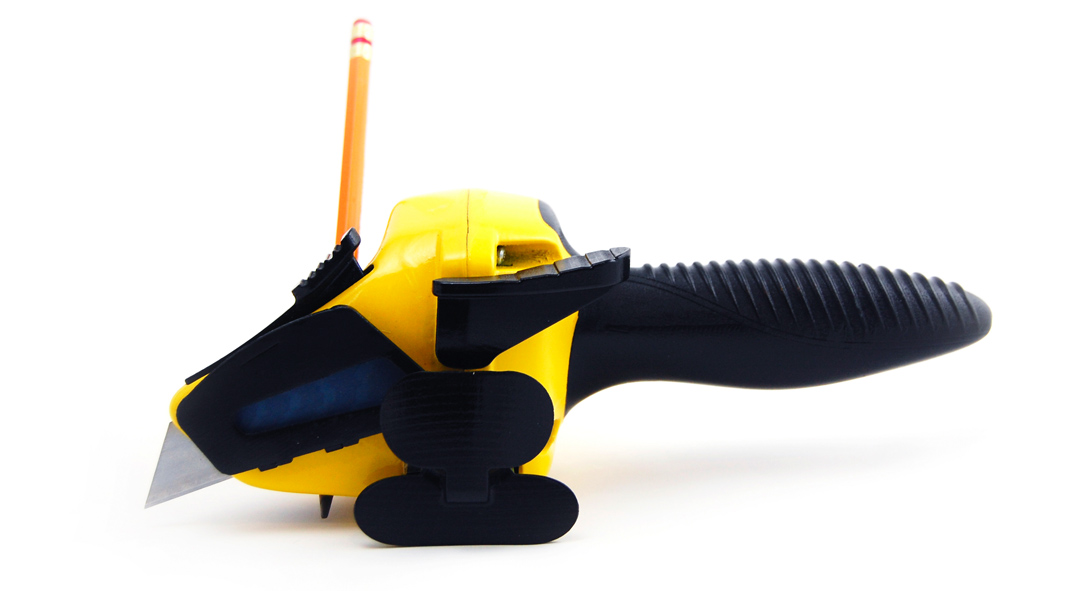
Some new inventions are small enough to be 3D printed. In these cases, a CAD file gets set up for 3D printing. Here at Spark Innovations, we have a PolyJet Objet 30, a high-resolution 3D printer with 28 micron layer thickness. With this 3D printer, we can build models and prototypes featuring ultra-precise details. The prototype is usually printed in a pale ivory or grey colour. In some cases, the idea is large enough that it has to be either handmade or tooled up in China. In some cases, the purpose of having a prototype is to ensure the ergonomics of the product are where you intended and to make modifications if needed. A prototype might also be used for photos, presentations, and marketing. In these cases, the 3D printed model gets finished to look like the real, functioning product. It may even be difficult to tell a prototype from the real thing! The colours, texture, and painting make it seem like the product is being manufactured already.

Sample products
On some occasions, it is best to request production samples. A small run can help you ensure the final products have no issues. If any problems exist, this is the time to correct them. Any slight modification to a part or mould should be corrected before placing a large order.
Final product/production
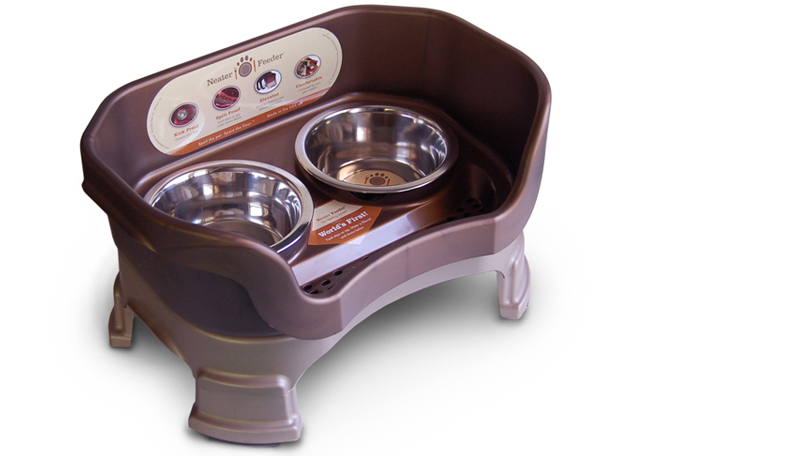
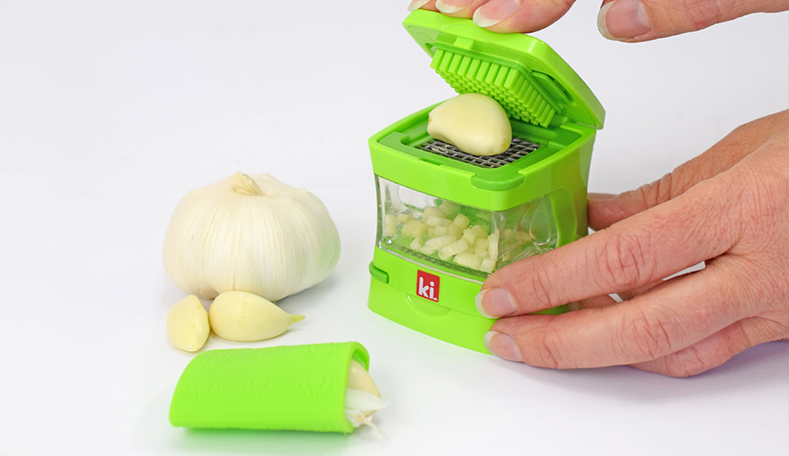
Correcting any issues can take time and involve considerable back-and-forth with the manufacturer, but once you are confident the product is ready, it’s time to place your final order.
Recent Comments