4 Steps On How To Build Your Prototype
1) Develop A Concept
Before starting the prototype portion of your product design venture, you will need to define the form of your concept. If you are not a great artist try some sketches or doodles. Drawing your concept allows you to envision your prototype with each feature.
In some cases, drawing your concept helps you perfect or define incomplete details.

2) Hand Make A Model
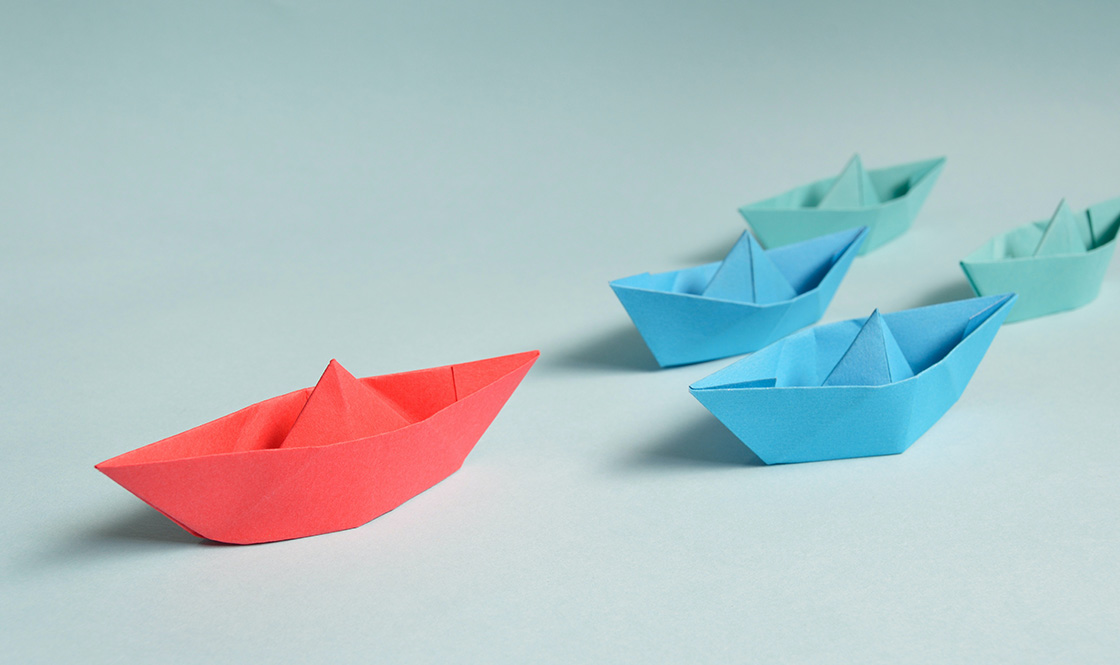
Before venturing into 3d printing or CAD its very important that you define the size and form of your concept. Depending on the size and complexity of your concept, you may be able to make a prototype by hand with materials you may have around the house or can easily find at a craft store. Paper, hot glue, cardboard, fabric or even sheets of plastic are a great way to build your concepts. This preliminary prototype does not need to be perfect; it is the initial step to the possibility of holding your concept in your hands. This initial shape will confirm that your idea is in fact the right size or will allow you to make changes to perfect the size and ergonomics. If several prototypes are needed do not worry, this is perfectly common. It is best to take your time during this step before you enter the next step where you will be spending more money. Test and test as much as you possibly can, get friends and family to hold it and test it, get their feedback, and take note of what they tell you to make further changes. This is the time for changes and experimentations.

3) Acquire a 3D CAD model of your concept
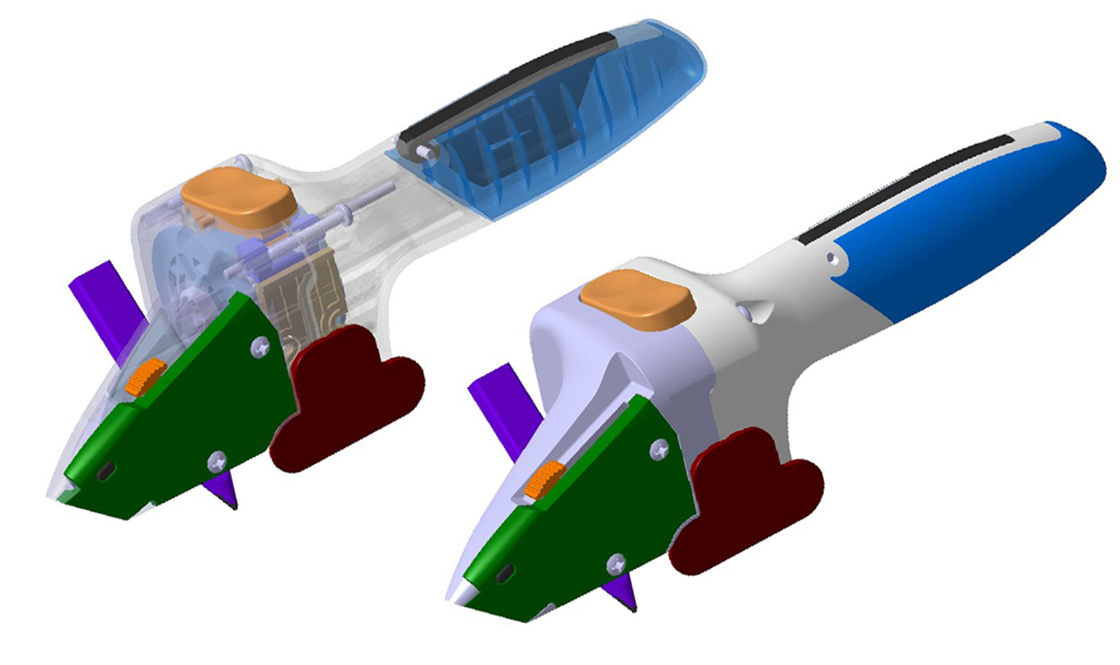
Depending on your concept and the materials it may be made of, you will want to have a 3d model created. If your model will be made of plastic or metal or any material that would require a mold to manufacture, we strongly suggest creating a digital version even if your product is made from fabric. In some cases, your model may have a combination of materials in which just a few may involve molds for manufacturing. If this is your case, then we suggest creating CAD models of those parts.
These CAD models will allow designers to create 2-D and 3-D renderings for marketing and presentations. During this process, you can visualize your concept in different colors, and even textures or various materials.

4) 3D Printing or CNCing Your Concept
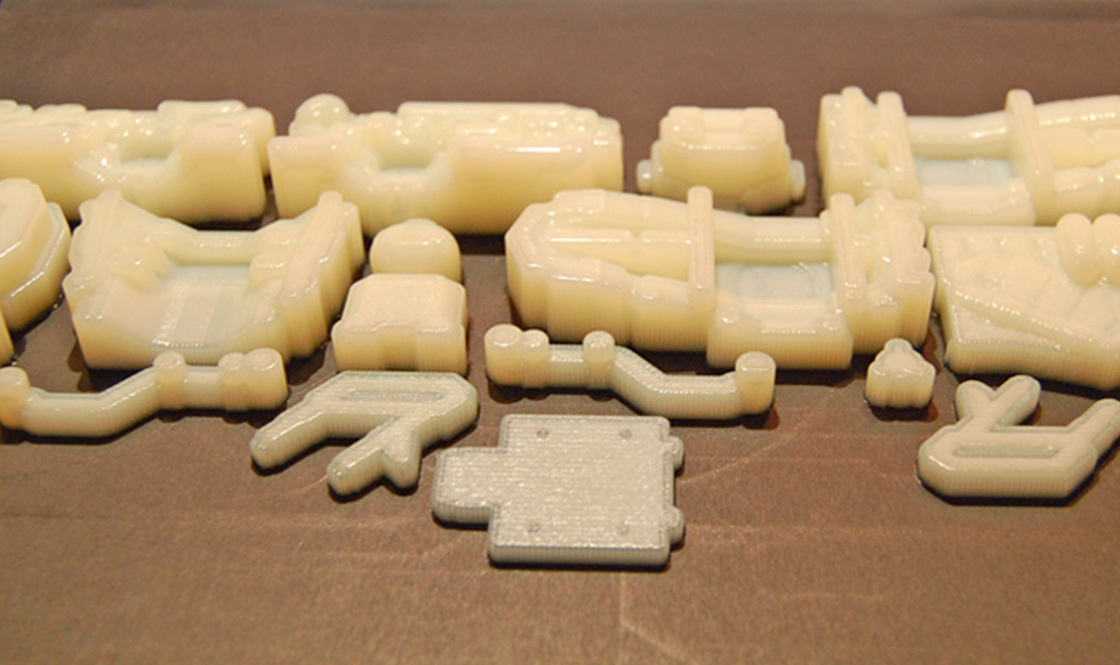
If you intend on presenting or pitching your prototype to a company or an individual, we strongly recommend having a final model built to help showcase your product. If your concept is made of metal or plastic parts, then once your digital file is complete consider 3d printing or CNC machining it. There are many types of 3d printing processes that will fit your needs based on your budget. You can end up with an unfinished but functioning prototype or you can go the extra mile and finish it to look and feel like the final product.

Whichever stage of the prototyping process you are or the level of perfection that your prototype may need don’t hesitate to contact us.
Recent Comments